Showing posts with label embossing. Show all posts

Thursday, October 13, 2016

A Witchy Granite Cameo Card


Once again, I am taking part in the 31 Days of Halloween Event.  I just love October!  This event celebrates Halloween the entire month.  Here is my cameo witch card. It is one of my favorites from this catalog.  I find the cameo witch stencil a particularly brilliant design move by Stampendous.


I was able to achieve the granite look with a technique that I developed for this catalog.  The embossing was actually quite easy, and the coloring with pencils can be as simple or complicated as you like.  Here is how it was done:

MATERIALS

Framed Witch Stencil FMS4036
Mixed Media White Paper
Versafine in Smokey Gray
Tattered Angels Glimmer Mist in Boardwalk
Prismacolor Pencils in Black, Grass Green, Apple Green, Olive Green, Dark Green, Imperial Violet, Periwinkle, Steel, Cool Grey in 10%, 20%, 30%, 50%, 70% and 90%
My Colors Card Stock in Black Magic and Grapevine
Zip Dry Glue
Manual Die Cut Machine
Rubber Embossing Mat

INSTRUCTIONS:

1) The card base is 8 1/2" by 5 1/2" folded on the side.
2)  Tap the Versafine all over the back of the stencil.
3)  Spray the back of the stencil with the Glimmer Mist.
4)  While the stencil is still wet, place it face down on the bed of the die cut machine.  Cover it with the mixed media paper, the embossing mat and the cutting mat.
5)  Run the stencil through the die cut machine.  Let dry.
6)  Color the image with the Prismacolors.  Enhance the embossing by creating extra highlights and shadows with the pencil colors.
7)  Assemble the card with Zip Dry.

I hope you like this technique.  It creates not only a granite look, but also a cool aged look with different colors.
Thanks for stopping by the blog.  Stampendous is featuring a little more Halloween today at the STAMPENDOUS BLOG.


Thursday, April 14, 2016

Dreamweaver and Graphic 45 Voyage Beneath the Sea

STM_G45_banner

Welcome to the Stampendous and Graphic 45 Beneath the Sea Blog Hop!  I just love Graphic 45 paper, don't you?  Well, in addition to seeing how the design team used some of the Voyage Beneath the Sea Collection, you have a chance to win prizes on this hop.

Prizes
Put on your underwater gear and swim through our posts and featured designer’s blog posts this week to comment because we have an ocean of goodies in three (3) prize packages. Each comment is your entry for a chance at one of the prize packages.  See Official Contest Rules for details. Deadline to comment is Sunday night, April 17th .
Three winners will receive a prize package with one of our new matching sea theme stamp and die sets (SeashellsSailboat and Mermaid Friends), Ocean Wisdom Perfectly Clear Stamp Set PLUS a sample of papers from the Graphic 45 Papers Voyage Beneath the Sea Collection.
My project was inspired by this beautiful collection.  Here it is:

MATERIALS:

Paper Mache Box
Deco Art Media Fluid Acrylics:  Prussian Blue Hue, Titanium White
Zip Dry
Paint Brush
Scissors

DIRECTIONS:

        1)  Paint the box with varying mixtures of the blue and white acrylics.  The different colors of blue will make the box more interesting.  Let it dry.

        2)   Cut four pieces of Double Sided Mounting Paper a little larger than the Small Scallop Stencil.

        3)  Use the Versamark Ink pad on the back of the Small Scallop Stencil.  Place the stencil, ink side down, centered on a piece of the mounting paper and gently press it on.

        4)  Pour some Carnelian Embossing Powder over the project and press in with your fingers, being sure to cover the paper on the outside of the stencil as well. 

        5) Turn the project upside down on a flat surface and carefully remove the paper from the stencil.    

        6) Heat set the embossing powder using the heat gun. 

        7)  Cover the remaining Mounting Paper with the Pearl Glitter. 

        8)  Repeat steps 3-7 with the remaining three pieces of mounting paper. 

        9)  Center the Wave Crest Stencil over the top of the box and tape down.  You will likely need to tape from underneath the box lid onto the back side of the stencil to keep it adhered.

        10)  Remove the Embossing Paste from the jar with the Palette Knife, scooping it out so it sits under the knife.

        11)  Place the palette knife on the top of the stencil, and pull it down towards yourself, being sure to keep contact between the knife and the stencil at all times. 

        12) Carefully remove the Wave Crest Stencil, treating the last piece of tape as a hinge as you take it off.  Let the paste dry. 


        13) Once the past is completely dry, “paint” the embossing powder on the image in phases.  You will use the Versamarker in the areas that you want colored, cover them with the embossing powder, and emboss with your heat gun.  You will repeat this process until you have colored the entire wave crest image.

        14) Cut the border off of the Graphic 45 paper.  

        15) Glue the border around the bottom of the box and the side of the lid. 

        16) Remove the backing from the shell covered double sided mounting paper and place, like a sticker, around the box.


Here are the rest of the posts for today.  Don't forget to leave a comment for your chance to win!

Thursday, March 24, 2016

Gearing Up for Fran's Embossing Book

Thanks for stopping by today.  This week, the Stampendous Design Team is playing with Fran's embossing book, "Embossing Powder Techniques from A to Z".  I am using one of my favorite go-to techniques, "Molten Magic" also known as Technique P from page 32 in the book.


Materials:

8 ½” by 5 ½” Base Card
Removable Tape
Shrink Plastic
Prismacolor Pencil—Gold
Black Ultra Fine Sharpie
Heat Tool
Scissors
Sandpaper
Big Bite—Hole Punch
Adhesive
My Colors Card Stock in Brown Eyes and Spanish Moss

Thanks again for stopping by.  Check out the rest of the posts for the day:

Thursday, September 24, 2015

De-Stressing with Distressing

This week, the challenge is Distressing.  At first, I was thinking, "sure, I can do this, no problem.....Just stamp with the texture stamps and throw a little Distress Ink on a few edges and bam!"  Then, the lovely ladies at Stampendous sent me some products that I had never used before and a link to a video (which I have posted further down).  I have to admit, the thought of learning a new technique caused me a little stress.  I watched the video and gave it a try.  It was FAR easier than I thought.  I am not sure if I did it exactly like the video, but I loved it.  I am hooked.  Let me show you what I made.


Both the blue and the distressed orange paper started out as white Mixed Media Paper.  I used two variations on the techniques I saw in the video.

Orange Paper

1)  Paint the paper with a mix of Quinacridone Gold and Titan Buff DecoArt Media Fluid Acrylics.  Don't mix the paints, just squeeze them on your palette and use your brush to pick up both colors.  They will mix on the paper and create variations of the colors.  Let this dry.

2) Paint some Americana Decor Chalky Finish Paint in Everlasting onto your palette or craft sheet and use it as an "ink pad" for your ASCRS03 Industrial stamp.  I used the one that looks like peeling paint on this one.  Stamp it all over your background.  I made sure that the stamp orientation remained vertical, so that the peels look like they are all weathering in the same direction.  Let it dry.

3)  Lightly brush some Quinacridone Gold over the whole top.


Blue Paper

1)  Using the same technique as the orange (not blending the colors, but picking them all up on your brush), paint the Mixed Media Paper with DecoArt Media Fluid Acrylics in Prussian Blue Hue, Paynes Grey, and Titan Buff.  Let dry.

2)  Stamp with ASCRS03 Industrial Stamp Set in StazOn colors Blue Hawaii and Cloudy Sky.  I chose the one with the scratchy effect and used the stamp in a different direction with each stamp.

Stencil

1)  Use removable tape all the way around the DWLG754 Large Oak Leaves Stencil on the blue paper.  Place the first piece across the full top of the stencil and, when removing, treat this as a hinge to lift your stencil.

2)  Use the palette knife to transfer the Black Matte Embossing Paste to the Paste Spreader.

3)  Place the paste spreader on the top of the image and pull straight down, treating the spreader like a squeegee and keeping it in contact with the stencil at all times.

4)  Remove the tape and let it dry.

Now, this is where everything went sort of wrong for me.  I SHOULD have just repeated the above process with the Crackle Embossing Paste and then, when it dried, I would have colored the white surface with inks or alcohol markers.  It would have looked like this (which is a preview of next week's card):

However, I found my only container of Crackle Paste to be almost gone and really, really dry.  With nothing to lose, I added water and Quinacridone Gold paint to the container and mixed it.  In the end, it more resembled small curd cottage cheese than the whipped cream cheese texture that I should have had.  I tried it anyway.  It took forever to dry.  When it was almost done, I turned my Embossing Heat Gun on it, which bubbled the surface even more.  It now had both cracks and bubbles. It looked like this:


The original base color on this (because of the addition of that paint) was sort of a light gold orange.  I added color with my Stencil Brushes and whatever pigment ink I had around.  In this case, I used Vesacolor in Green Tea 161, Split Pea 63, Boysenberry 126, and Orange 13.  I also used Versamagic in Eggplant.  The combination of the Eggplant and the Green Tea over each other made the brown color on the stems and acorn caps.  Finally, just because I had it, I brushed on DecoArt Metallic Lustre in Gold Rush, Iced Espresso and Champagne Ice.  You certainly don't need to use all these colors. they were just handy to me.


So, now that you have seen the video, and my project (please leave a comment if you get the chance), check out the rest of the players for today:

Friday, June 19, 2015

Getting Wild Again

Today, I have even more of this week's Stampendous theme of "Let's Go Wild".   Here is the post:


I used the PenPatternFrog Rubber Stamp.  I colored it with Faber Castell Aquarelle Watercolor Pencils.  The background was created with LJ 825 Jungle Leaves Stencil.  I ran it through my Cuttlebug with white card stock and a Rubber Stamping Details Embossing Mat.  I placed the stencil face down on top of the A Plate, and then the card stock, rubber mat, and two B Plates.  I removed the card stock and then used a stencil brush to put color from the Splendor Circus Ink Pad over the top. Then, I assembled the card.  In this scan, the ribbon on the bottom looks black, but I can assure you that it is actually purple.
Now that you have seen my second "wild" card, I invite you to leave a comment (I like comments) and check out the rest of the wild participants today at the following links:

Kristine Reynolds

Friday, June 12, 2015

More Perfect Pets

This week our team will be showcasing the Art Grip Aquarelles Watercolor Pencils, the PITT Pastel Pencils, and our very special guest Nathalie Kalbach will be featuring the Gelatos! There will be guest-starring roles by the PITT Artist Pens for doodling and drawing!
3 Lucky Winners this week will get three sets of the PITT Pastel Pencils (red/yellow, blue/green, neutrals), a jar of Faber-Castell Chalkboard Paint, and $20http://www.stampendous.com reward card to choose their favorite images to color! WOW… these winners must have a U.S. mailing address (official rules here!)… BUT WAIT-Aussie Fans – The Stencil Specialist has you covered again this time!! One Australian Fan will win a Stampendous Stamp, a Dreamweaver Stencil (LJ size customer choice), and one Dreamweaver Stencils Regular Embossing Paste. Wow!!
For my post today, I once again combined a couple of things:  the Faber-Castell Hop and the Stampendous Perfect Pets .  Here it is:

I started by using the Stampendous Goldfish Pair Rubber Stamp on white card stock.   I colored the fish with the Yellow Set of Aquarelles water color pencils.  I used water on the enclosed brush to blend the fish.  Then, I colored the background with the Blue Set of Aquarelles.   I blended them with the paint brush and some water.  I added the "bubbles" by placing just a few drops of Faber-Castell Texture Gems on them.  Although you can see them in this close up picture, I am thinking that I should have put them in before I colored the background for the most impact.

For the first mat, I colored white card stock rather haphazardly with a yellow Aquarelle pencil.  Then, I brushed water on it with a large brush.  I let it dry a little.  Before it was completely dry, I ran it through my Cuttlebug with the Stamping Details Rubber Mat and the Pop Rectangles Stencil LJ929.  I made sure that the stencil was on the A Plate face up with the card stock over it, also face up.  Because of that, the card stock was pushed into the rectangles.  I was able to lightly go over the embossing with an orange Aquarelle pencil and then brush it with some water on a brush.  It made a subtle and interesting background.
For the final piece, I pasted the Mosaic Swirls Stencil LJ901 with Pearlescent Embossing Paste.

Now, let’s check out today’s inspiration from our designers, but don't forget to leave comments for your chance to win.

Thursday, February 19, 2015

Frou Frou Fairy


Break out the frou frou! For the month of February, the Dream Team are going Frilly and Fabulous! Vintage, retro, or modern, adding extra charm with funFran•tagé products from Stampendous, ribbons and lace from May Arts, buttons, crystals, charms, or even creating your own dimensional decor! A snippet or a pile, whatever your creative heart desires! Remember to link your creations using the Inlinkz tool on the Dream It Up! blog for a chance to win the stencil of your choice! Bonus points for using Dreamweaver and/or Stampendous product in your work of heart.
Here is my project for the week:
 
I was trying to create something that was definitely frou frou, but not Valentine's Day, as it is past the 14th.  I love this new LG762 Fairy Stencil .  I used it by "debossing" the card stock into the stencil.  The metal of the stencil is the raised outline on the fairy.  I filled the spaces with a variety of materials--Stampendous Glass Glitter in Fresh Green, Stampendous Purple Pearlustre Embossing Powder, Stampendous Kaleidoscope Embossing Powder, Stampendous Detail Black Embossing Powder, and Water Soluble Colored Pencils.  The background was created by embossing textured card stock with the LJ849 Bare Trees Stencil and coloring the branches with colored pencil.  The LJ905 Rain Stencil was paste embossed with Pearlescent Embossing Paste on acetate. While the paste was wet, it was sprinkled with Metallic FX Powders in Glacier Lake.  The pink card stock was first stenciled with the LJ899 Petals Background Stencil.  Then it was stamped with the Stampendous Cling Blossom Beauty Stamp and colored with colored pencils.  I made two of them and cut some petals out of one and raised them with foam dots.  The ribbon was, of course, May Arts.
 

Friday, June 13, 2014

Endless Possibilities Blog Hop Day 5


 Welcome to our first ever collaboration week with Imagine Crafts/Tsukineko! We've shared all of our toys on both sides, so be prepared for Endless Possibilities! Three prize packages are available, each containing one set of each of these inks and stencils/dies. Just leave comments on each post of each day this week (June 9th - June 13th) for a chance to win! Winners will be announced on Tuesday, June 17th!
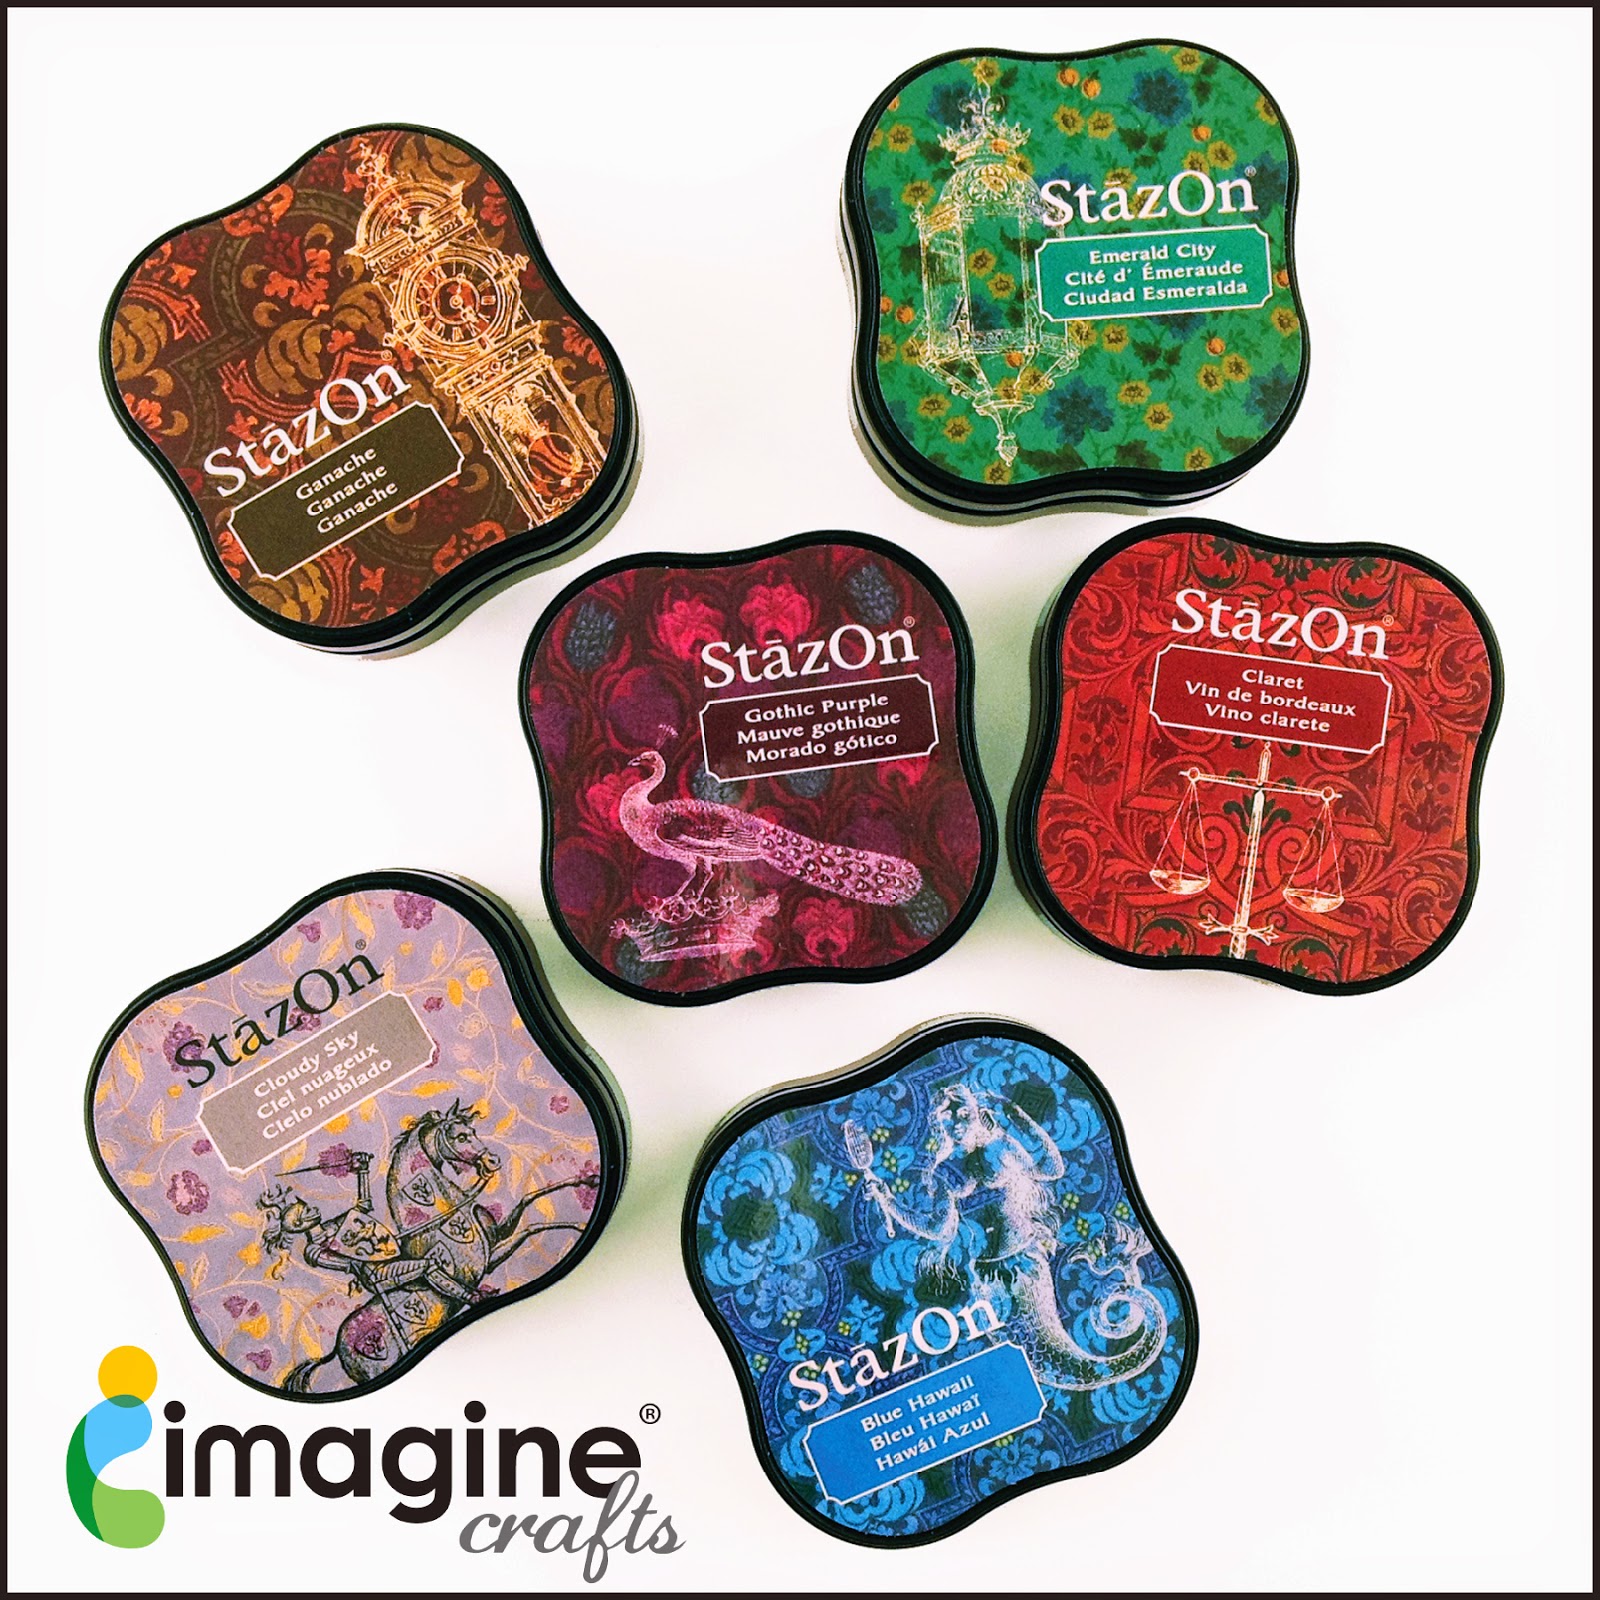
Imagine Crafts New StazOn Pads from Tsukineko
Stencils and Dies Prize Package
Here's my creation for today:
 
     Here is my true confession:  although I create cards all the time for my blog, I don't often use them.  This one, however, was specifically created for my darling niece, who is graduating from high school this year.  She is a beautiful and classy young woman.  I wanted to reflect that in her card.  In case you hadn't guessed, her high school colors are red and white.
     For this card, I used the Dreamweaver Stencils Damask LX 7001, Graduation LL 449 and Congratulations LS 22.  The Graduation and Congratulations Stencils were run through my Cuttlebug with the Stamping Details Rubber Mat.  I used black card stock for both.  I also ran the Graduation Stencil through twice more, once with a glittering ivory, and a second time with a textured white.  I hand embossed the tassel a little more with the small embossing tool
     Then, I enhanced the embossing with some gorgeous inks.  The Silvery Shimmer Delicata was added to the hat with a stencil brush.  I used the finger daubers with the Golden Glitz Delicata on the tassel and the word.  I masked the area next to the string with a little paper.  The background and diploma were colored with a stencil brush and Versafine in Crimson Red and the Golden Delicata.  I was so impressed with the shimmer from the Delicata.  I am just not used to ink being so shimmery.  Here is a slightly askew picture so you can see what I mean.

 
The beautiful red velvet ribbon is by May Arts and adhered with my Xyron X.

Just Imagine the possibilities of what everyone else has created!