Thursday, November 25, 2010

Dreamweaver Thanksgiving Parade

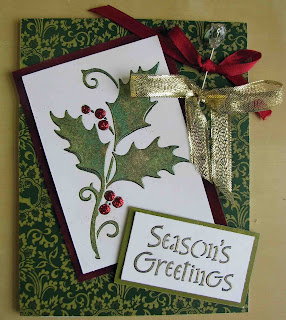
This is the first of new weekly Thursday posts by the entire Dreamweaver Team. This week, we had a challenge--to create a Christmas card using non-traditional colors. I had so much fun with this that I created two! I have chosen to only post one today, so be on the lookout for a purple glittered Christmas card in the future....... Meanwhile, here she is:


So, if you haven't guessed, my nontraditonal color choice is orange, blue, and ivory. The skater was easily created by running the stencil through my manual die cut machne. Then, I used a Versamarker and embossing powder on the skates (silver and white). Three colors of Ranger Adirondack Ink (Peach Bellini, Orange Sunset and Terra Cotta) were used to stencil her face, coat, and Season's Greetings tag. I used Fun Flock on the fur, hair and earmuffs.


The snowflake details were created with almond colored shrink plastic. I cut it out with Spellbinders Dies and sanded it. Then, I used a snowflake stencil (two different ones, actually) and Brilliance Moonlight Ink to add the images. I must have had some blue in my stencil brush, because the color shifted when I heated the project. I loved the result, though--so I kept it. I used a Copic marker to outline the image.

I punched the guide hole on the snowflakes using my Crop A Dile. Of course, even the large hole would not have been big enough for the brad once the pattern was shrunk. Because of this, I heated the plastic with my heat gun and punched it again when it was still warm. This did the trick, and I was able to push the brad though and create the look I wanted.
The paper is a Graphic 45 Christmas paper. I just fell in love with doing this project, as I was amused by the challenge and pleased with the results. I couldn't help but giggle as I thought about how, between this card and its diametrically opposed glittery purple sister, I was creating Christmas cards in Halloween colors. If nothing else, it gave me a fresh perspective on Christmas tradions. Give it a try sometime--and check in next week for more Dreamweaver goodness!


Sunday, November 14, 2010

Christmas Recipe Box


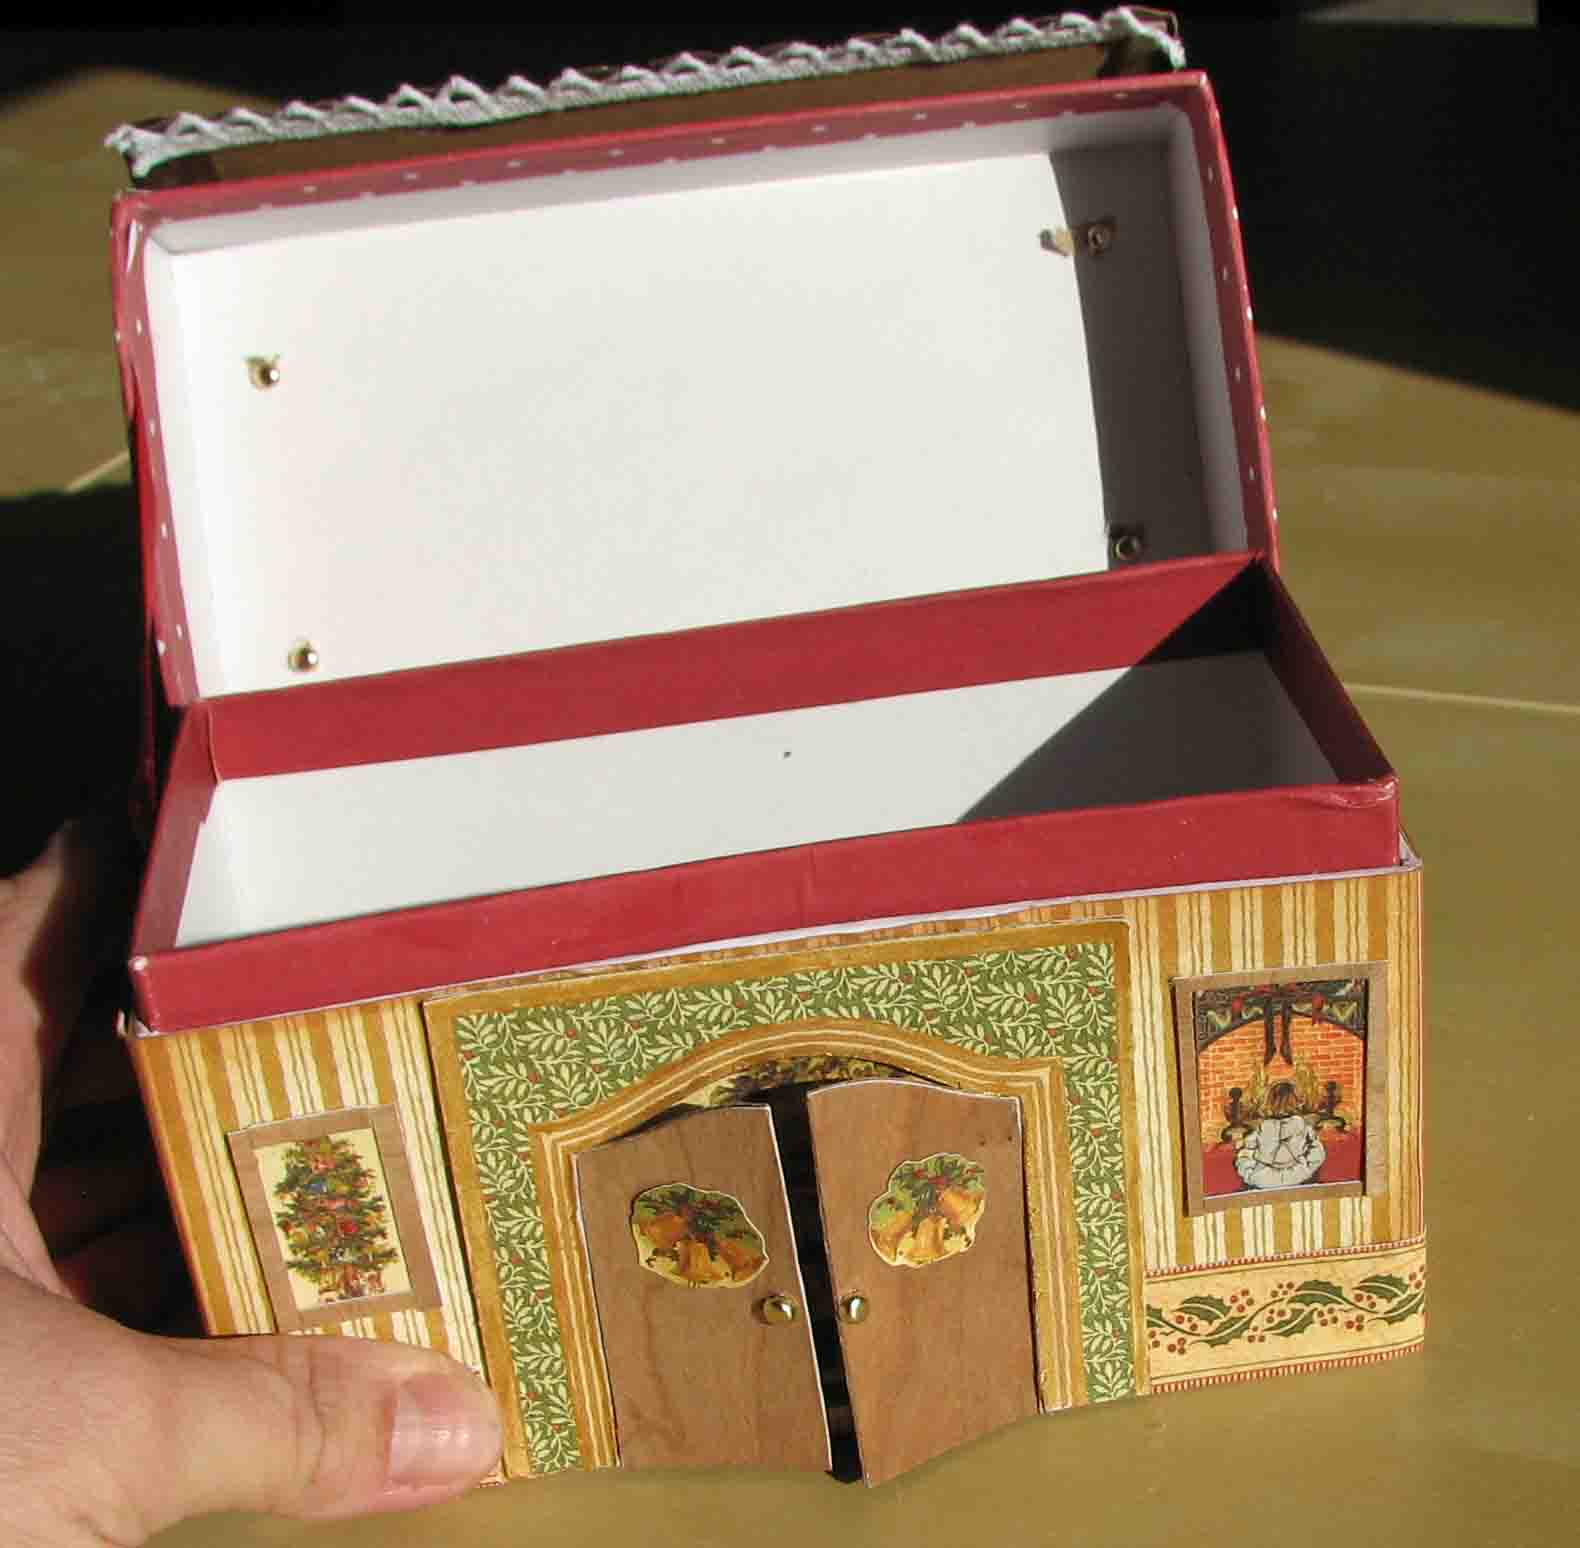
The store I work at has started playing Christmas music and, while I do sort of think it is too early, it was wonderful to listen as I taught this class. It was half of a workshop that I ran twice with my friend and coworker, Claudia. She taught a cookie recipe book, while I taught this box. When I created it, I thought of it as simply a cute recipe box that someone would fill with the special family recipes that you only use for Christmas. I worked on it, though, I got to thinking about what a great gift box it would make! (Just fill it with stencils and glitter for me, please!) Also, I was thinking I will probably put mine on the mantle as just a cute Christmas decoration.


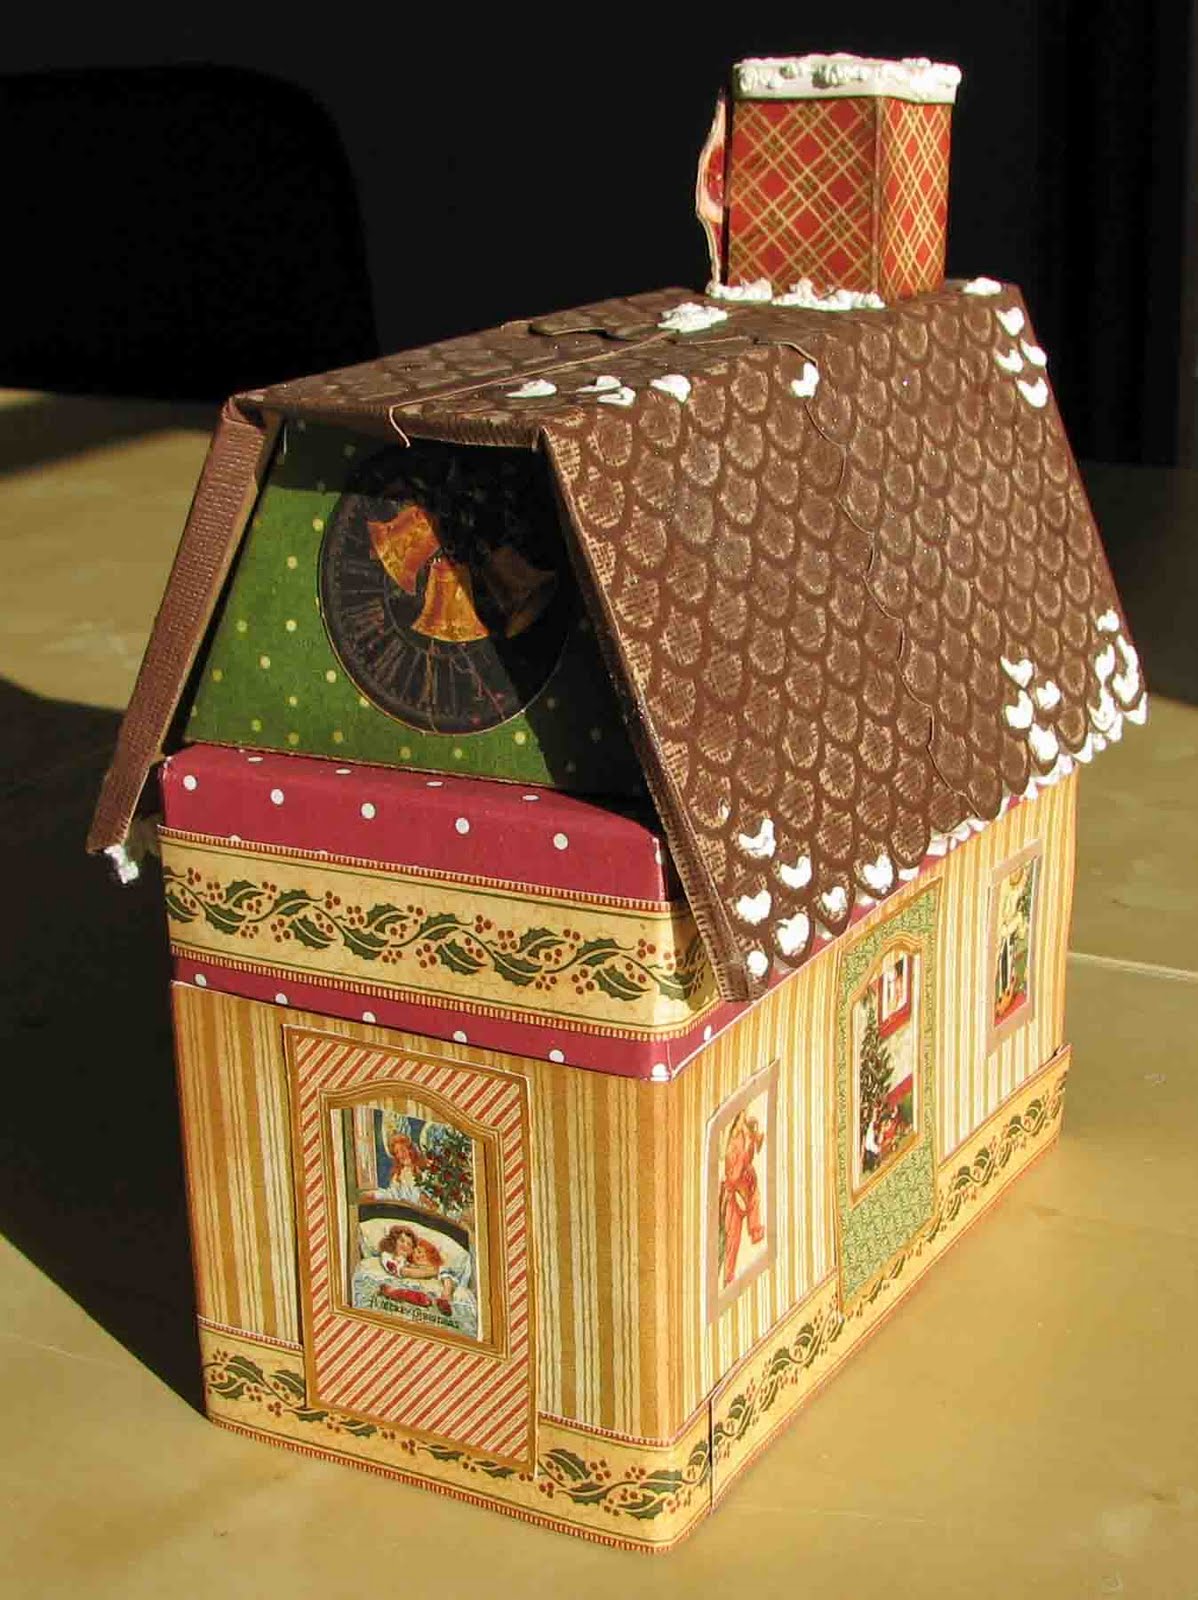
The box started as a $1 recipe box. I created the project adding a chipboard roof, Graphic 45 paper and Co'ordinations Cardstock. The box, of course, opens (for all that glitter to fit into!).
The doors, which are made with the Creative Imaginations Real Wood paper (the thicker Cherry wood), also open to reveal the cute Santa image. In the students' version, you can't see the back of the brads that make up the door handles, as they are hidden with the cardstock backing.

The images and the colorful frames are all from the Graphic 45 paper. The wooden frames are that real wood paper again, cut small and run through the Xyron. The "icicles" are a ribbon stuck under the eaves with Glue Dots.


So, do any of my Dreamweaver followers recognize the roof? It is the Dreamweaver fish scales stencil run through my embossing machine with the Co'ordinations cardstock. It was then sanded and trimmed to make the cute roof. The slight white "frosty" shimmer comes from Metallic FX in Moonstone just rubbed over the top with a finger. It sticks in the texture to create the look. Then, I added white Liquid Applique, which I heat set for a puffy snow look.


Finally, the cute Santa. He, too, was taken from the paper and mounted on chipboard. I then cut out around the Santa. What you can't see in the picture is that the reverse of the same Santa (there was a front and back on the paper) was cut out and pasted on the back. You can see his belly poking out from behind the chimney on the back of the box. I took my two sided Santa and colored the black parts with a journalling pen. I then added white flock and a fantastically beautiful red Art Institute Glitter. He was just the finishing touch I needed!


Thursday, November 4, 2010

Dreamweaver Christmas Card Class

Here are the cards for my Christmas Dreamweaver Stencils class.
This card was made with four different types of paste--black matte, glossy white, regular and crackle. The moose antlers were crackled and then stencilled with pigment ink. The moose was enhanced with two colors of Fun Flock. The string of lights was pasted with the regular paste, and then covered with a Versamark marker and Zing metallic green embossing powder. The bulbs were covered in beautiful Art Institute Glitter. Finally, his antlers were enhanced with embroidery floss and beads.


I love the technique used on this one. The ornament was pasted using the regular paste. I then enhanced the dimensionality by adding a little shading of Distress Ink. With a technique I learned from Lynell herself, I overlayed an all over holly stencil and used pigment ink in green to stencil the pattern. While it was still wet, I added UTEE and embossed. The silver was added with a Versamark marker and tinsel embossing powder. The berries are red Stickles. The word "celebrate" was pasted in Glossy Black and Metallic FX was thrown on it while wet, making a lovely, shiny effect.


This card used silver embossing paste and pearlescent embossing paste on acetate. I stacked the two images. The silver image is in the back. When dry, I flipped the design and added alcohol ink to the back. I enhanced the berries with Stickles. It was simple, but is striking in person. I just love it.


Simple, simple, simple. All glossy black embossing paste with Metallic FX thrown on while wet and berries enhanced with Art Institute Glitter.


This one was honestly probably my favorite. Fortunately, it was also one of the simplest ones to do. I used the double sided sticky backed paper by Dreamweaver, cut to the size of the stencil. Then, I soaped the back of the stencil, and attached it to the paper. I used light green transparent Art Institute Glitter on the leaves. I carefully added the yellow beads to the center. Then, I poured a pink transparent Art Institute Glitter on the flower. Using a stencil brush, I stencilled on some pigment ink in dark green and burgundy to add dimension to the flower. The glitter took it beautifully. The secret is to use a high quality, transparent glitter, because it accepts and reflects the colors better. After I was happy with the look, I VERY carefully peeled the backing off of the stencil (put the stencil down on the table and peel the paper up off of it). Then, I poured the Art Glitter opaque color Martini over the whole piece. It was really fun to do!

Thursday, October 21, 2010

Dreamweaver Challenge

Hey, Folks.
Today would be a great day to toddle off to PaperTherapy and check out Wendy's Dreamweaver challenge. I know that most of you checked out the blog hop a couple of weeks ago, and saw LOTS of inspirational things. Well, if you have been working (or at least thinking) up a storm, now is the time to get your reward. Make a project, upload it to Wendy's challenge, and you could win 5 Dreamweaver stencils. Yes, I said 5. Check it out here.

Monday, October 18, 2010

Halloween Card Class

I am very pleased to show everyone the cards I am making with my students this Thursday, October 21st.


This first one is super simple, but lots of fun. Last year's Eerie collection from Basic Grey really does all the work. Just add a little distressing, a little cutting, an Inkadinkadoo stamp, some Twinkling H2Os, and some Karen Foster Scrappers' Twine and you are all done!


This one took a little stamping and cutting, but the real work was done with Co'oredinations cardstock, a Tim Holtz mask and some alcohol inks. The stamps are Tim Holtz and My Mind's Eye. I also really enjoyed using that Karen Foster twine with a few beads.


This next one is also really easy. It involves My Mind's Eye paper and stamps, Basic Grey paper, Distress Inks, Dew Drops, and a craft knife.


This last one was made with some of my new favorite products, Luminarte and epoxy papers, both from Creative Imaginations. The paper is from the Wicked collection, and is originally a black epoxy pattern on an off white background. I stamped the bottom images with Inkadinkadoo stamps on black tags and embossed them with clear powder. Then, I used the Luminarte daubers over the top of all the black to make it really juicy. I threw a little Kosher salt on the bottom images to create a mottled effect. I then used a damp cloth over the epoxy papers and the emobssing to wipe off the excess. Finally, I sprayed Radiant Rain (also a Luminarte/Creative Imaginations product) in white/lilac over the top. I painted the ghost with Twinkling H2Os in Heavenly White and added yellow Stickles to details. The Happy Halloween is a Tim Holtz stamp that was embossed on vellum. I punched squares of the images and out of vellum. I adhered it all and added the ribbon. I think you can tell how beautifully shimmery this stuff is, and it is even shinier in person. Just so much fun!
If you are interested in having fun with this class, call Scrap Tales to sign up.


Monday, October 4, 2010

AND THE WINNER IS.........

First, I would like to thank everyone for their wonderful comments. They really mean alot to me and inspire me to keep pushing the envelope.

As selected by Random.org, the winner on this blog is Linda B (NY Card Lady). Linda, you have until midnight Tuesday to contact Lynell with your information at lynell@dreamweaverstencils.com . Tell her that you won on my site and let her know which goodies you want. If you don't contact her, I will have to choose someone else.

Saturday, October 2, 2010

BLOG HOP


WHAT IT IS/HOW TO WIN


Here it is, our Dream Team Blog Hop. This is my very first Blog Hop, so bear with me. For three days, October 1-3, the Dream Team members will be posting new samples and card information. You need to comment on EACH member blog to qualify for the most fantastic free prizes. You can win YOUR favorite stencil, paste and Metallic FX color. Remember, comment on EVERY blog for the most chances to win. Become a follower of the Dreamweaver stencil blog here for an extra chance. After leaving your comments, go to the Dreamweaver Stencil site and choose your favorite stencil. Tell us why it is your favorite or how you would use it, and you can win it. Check back on the blogs October 4th to find out if you are the winner picked by random.org for that site.


DAY 2


This is the beginning of day 2. For a look at DAY 1, start with Deborah's blog here. Okay, so on to my goodies.

I am calling today METALLIC FX MADNESS DAY for my blog, anyway.

First Technique: Metallic FX on paste.


This peacock card was created using Peacock Stencil LG 730 and Feather Stencil LJ 840. I pasted the feathers on blue cardstock with Glossy Black paste and threw Metallic FX powders in Ivy, Kiwi, Navajo Sky and Glacier on it while the paste was still wet. I did the same with the peacock design on acetate. When they were dry, I used a Swiffer sheet to wipe off the excess. I then decorated the top with black Art Glitter and rhinestones. I put vellum behind it and laced ribbon up the side. I wish the photographs could do the beautiful Metallic FX powders justice!


This next card was done using the same techniques with the Holly and Swirls LL 3005 and Seasons Greetings LS 91. Using the Glossy Black Paste really made the Kiwi and Ivy Metallic FX powders stand out, even on the white cardstock. This card will be featured as one of 5 in my next Dreamweaver Card Class at Scraptales in Brighton, Michigan. (They also have a large selection of Dreamweaver Stencils and supplies in stock.) Check out the website for further class information here.


Second Technique: Metallic FX on Double Sided Tape

Okay, I had to work a little for this one, but I finally have it down to an EASY technique.


First, cut the Dreamweaver Double Sided Mounting paper to size. Then, rub soap on the back of the Candy Cane Stencil LL 555. You need to do this so that the stencil will be able to be removed easily from the backing without bending. Then, use the removable tape to mask out the ribbon. This is very important, because once the Metallic FX powders go down on the backing paper, you cannot attach anything else to them. When the ribbon is masked off, rub a little Metallic FX in Kimono Red on the candy cane with your finger (otherwise known as the very important crafting tool.) I find that the finger works best because you can really get into the nooks and crannies. Gently flick the stencil from behind several times with the stencil face down to remove as much of the powder as possible. Then, use a damp cloth over the stencil to remove the additional powder. Remove the tape and color the ribbon using 3 different colors of green flocking. I used the Picasso Stencil LL 332 to mask off the areas I wasn't currently putting flocking on. (It is probably the ugliest AND most useful stencil you will ever own.) Press the flocking onto the mounting paper with some pressure, as that is the best way to make it stick. Then, roll off the excess. Flick it and REALLY get the extra flocking off. Put stencil face down on a table and CAREFULLY remove the mounting paper. Pour white Art Glitter over the top of the whole thing. Apply to card.
What I like the most about this technique is how the FX powders are beautifully shimmery, but have an almost antique look about them, making a nice contrast with the flock and the glitter.
The Celebrate Stencil LM 283 was done with the first technique.


Now, the last technique: Metallic FX on Polymer Clay


For best results, use black polymer clay. Play with it then roll it out with your brayer and smush it several times until it rolls out smoothly. Put a little olive oil on the back of your stencil and press it into the clay. Brayer over the top a couple of times until the clay raises a little above the stencil. The Christmas one was made with Happy Holidays LM 139, Three Deer LL 467 (backwards, as it turns out) and Metallic FX in Gold Dust, Eye of the Tiger, Ivy, Kiwi and Kimono Red. The Iris (I am thinking about making it a bookmark) was done with Bearded Iris Stencil LL 516 and Metallic FX powders in Purple Satin, Plum Royale, Sapphire, Moonstone, Kiwi and Ivy. I also added a little yellow flocking with Zig Squeeze N Roll Glue.


Well, MY post is finally over. Just in case you can't tell, Metallic FX is one of my newest obsessions. I hope you learned enough here to make it one of yours, too. Comment below to win your favorite goodies. Then, go to Lee's Blog to continue your hopping.


GOOD LUCK AND HAPPY HOPPING!