Thursday, June 19, 2014

Back to the Old, New, Borrowed and Blue Challenge

Well, we had quite a bit of excitement with that fun blog hop, didn't we?  But, lest you forget, this month at Dreamweaver Stencils the challenge is, "Old, New, Borrowed, Blue", with the obvious thought being a wedding theme...but not necessarily. Add an old embellishment or picture. Use a new stencil design or technique. Borrow, or CASE (copy and say everything) another designers project, and obviously, blue...is blue. Where will YOUR creative process take you for this month? We'd love to see! And remember, linking your creations with the Inklinkz tool at the end of the team posts, provides you with the opportunity to win the stencil of your choice! Here's what I've created for this week...
 
Once again, I used two of the four words: old and blue.  The project itself is actually an older one that I had never posted.  The card is both literally blue, and a little figuratively blue.  After all, when it rains it pours is really all about how sometimes things just go wrong at once, making you blue. When you consider all the possibilities, it is very easy to do this challenge.  Lets take a look at what I did.

MATERIALS:
Dreamweaver LJ 905 Rain Stencil
Dreamweaver LG 737 Umbrella Stencil
Dreamweaver LG 738 Rain Words Stencil
Dreamweaver LJ 817 Leopard Skin Stencil
Embossing Paste in Pearlescent, Silver, Matte Black and Glossy White
Palette Knife
Removable Tape
Dreamweaver LM 2010 Paste Spreader
Acetate
Mirror Finish Pink Card Stock (yes, it is a pink umbrella)
Dark Blue. Light Blue, and White Card Stock
Crystal Glitter
Walnut Stain Distress Ink
Adhesive
3D Dots
Glue Dots
2 White Brads
Craft Knife
Scissors
Ribbon
 
DIRECTIONS:
1)  You need to use embossing paste on various parts, but the procedure is the same.  First, tape the stencil face up over the card stock you are using.  Be sure to start by taping one side all the way across to use as a "hinge".  Then, tape all the way around the stencil.  You will be using the removable tape.  Use the palette knife to remove embossing paste from the jar and put it on the paste spreader.  The spreader acts almost like a squeegee to run the paste over the stencil.  Finally, you need to remove the stencil, being sure to "open" it from the paper with the hinge you created.  Let it dry completely. 
You will be using Black Matte Paste with the Leopard Stencil on the pink mirror card stock.
The White Glossy goes over the Rain Words Stencil on the dark blue card stock.
The Silver Paste goes on the light blue card stock with the Umbrella Stencil
The Pearlescent Paste is used with the Rain Stencil on the acetate--AND before it dries, you should sprinkle the crystal glitter on it.
 
2)  Once all the pieces are pasted and dry, gently flip the pink card stock over and trace the top part of the Umbrella Stencil wrong side up on the back of the card stock.  Cut it out and adhere the umbrella pieces in place on top of the embossing.
 
3)  Position the acetate piece over the card.  Use a craft knife to cut the acetate so that it fits on the bottom of the umbrella.  Also use the craft knife around selected rain drops so that they appear to be striking the top of the umbrella.  Adhere with glue dots strategically placed under rain drops.  You can see the results of this step and the actual look of the mirrored card stock here:
4)  Cut around the words and distress the edges with ink.  Place on 3D Dots and put around umbrella handle.

5)  Add brads.

6)  Adhere light blue card stock to white card stock and place the ribbon.

Please don't be intimidated by all the ingredients and steps on this one.  It is merely meant as inspiration and to show you a few surfaces and various types of embossing paste.

One more glimpse:
And, off to the other team member to get a little inspiration.  Then, be sure to link up your creations for a chance to win.
 

Friday, June 13, 2014

Endless Possibilities Blog Hop Day 5


 Welcome to our first ever collaboration week with Imagine Crafts/Tsukineko! We've shared all of our toys on both sides, so be prepared for Endless Possibilities! Three prize packages are available, each containing one set of each of these inks and stencils/dies. Just leave comments on each post of each day this week (June 9th - June 13th) for a chance to win! Winners will be announced on Tuesday, June 17th!
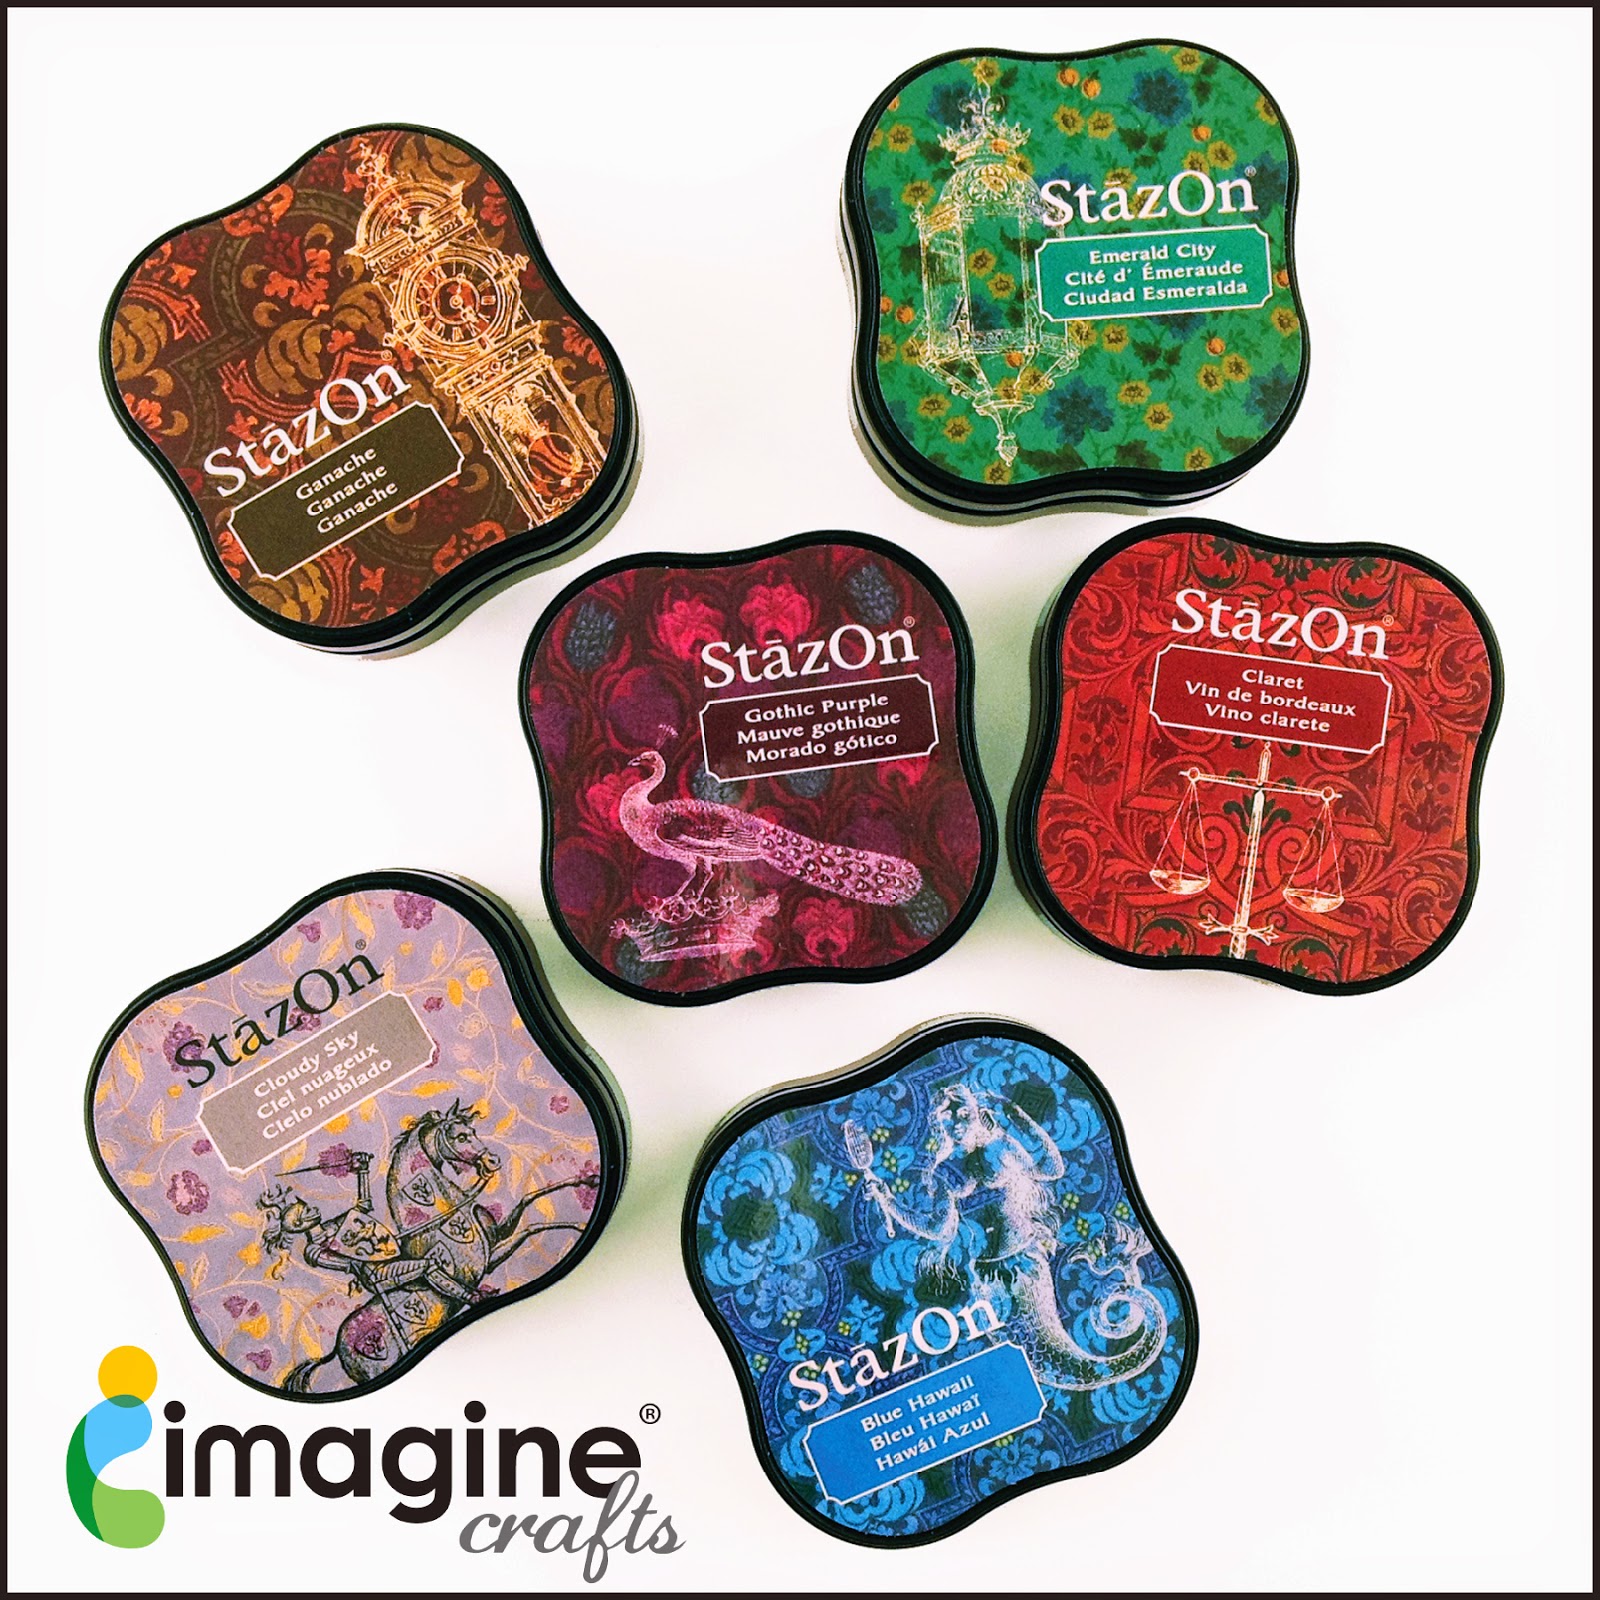
Imagine Crafts New StazOn Pads from Tsukineko
Stencils and Dies Prize Package
Here's my creation for today:
 
     Here is my true confession:  although I create cards all the time for my blog, I don't often use them.  This one, however, was specifically created for my darling niece, who is graduating from high school this year.  She is a beautiful and classy young woman.  I wanted to reflect that in her card.  In case you hadn't guessed, her high school colors are red and white.
     For this card, I used the Dreamweaver Stencils Damask LX 7001, Graduation LL 449 and Congratulations LS 22.  The Graduation and Congratulations Stencils were run through my Cuttlebug with the Stamping Details Rubber Mat.  I used black card stock for both.  I also ran the Graduation Stencil through twice more, once with a glittering ivory, and a second time with a textured white.  I hand embossed the tassel a little more with the small embossing tool
     Then, I enhanced the embossing with some gorgeous inks.  The Silvery Shimmer Delicata was added to the hat with a stencil brush.  I used the finger daubers with the Golden Glitz Delicata on the tassel and the word.  I masked the area next to the string with a little paper.  The background and diploma were colored with a stencil brush and Versafine in Crimson Red and the Golden Delicata.  I was so impressed with the shimmer from the Delicata.  I am just not used to ink being so shimmery.  Here is a slightly askew picture so you can see what I mean.

 
The beautiful red velvet ribbon is by May Arts and adhered with my Xyron X.

Just Imagine the possibilities of what everyone else has created!
 

Thursday, June 12, 2014

Endless Possibilities Blog Hop Day 4

 Welcome to our first ever collaboration week with Imagine Crafts/Tsukineko! We've shared all of our toys on both sides, so be prepared for Endless Possibilities! Three prize packages are available, each containing one set of each of these inks and stencils/dies. Just leave comments on each post of each day this week (June 9th - June 13th) for a chance to win! Winners will be announced on Tuesday, June 17th!
Imagine Crafts New StazOn Pads from Tsukineko
Stencils and Dies Prize Package
Here's my creation for today:

 
   It is about as close to Clean and Simple as I am going to get.  The colors were chosen because of the ribbon, and are actually a much closer match than they appear to be in this picture.  I used the Dreamweaver DG 743 Stylized Dahlia die on a piece of Vertigo from Imagine Crafts.  This was the hardest thing to do on this project.  The dies aren't really designed to cut through thick plastic, but it made a nice score line.  I had to use a craft knife to assist in removing the Vertigo.  I decided to leave those inside petal shapes attached on top and just bend them outward.  I did this to add different colors and textures.
    I ran the LG 743 Stylized Dahlia Stencil through my die cut machine with the Stamping Details Rubber Embossing Mat and white card stock.  I colored the image with sponge daubers and Radiant Neon Ink in Electric Yellow, Electric Green and Electric Purple.  I also ran a little Electric Purple around the edges, both on the cardstock and the Vertigo.  I put adhesive under the area that I was going to put the ribbon.  Lastly, I added the gorgeous May Arts Solid Reversible Dots (ED-1) Ribbon that started it all.
Just Imagine the possibilities of what everyone else has created!
 
Dream It Up!

Thursday, June 5, 2014

Old, New, Borrowed, Blue Challenge Week 1

At Dreamweaver Stencils, we love to make our monthly challenges something for everyone, and not so strict that no one wants to play along. This month our challenge is, "Old, New, Borrowed, Blue", with the obvious thought being a wedding theme...but not necessarily. Add an old embellishment or picture. Use a new stencil design or technique. Borrow, or CASE (copy and say everything) another designers project, and obviously, blue...is blue. Where will YOUR creative process take you for this month? We'd love to see! And remember, linking your creations with the Inklinkz tool at the end of the team posts, provides you with the opportunity to win the stencil of your choice! Here's what I've created for this week...

I used two of the four words in the challenge:  New, because this stencil is fairly new and this is a new variation on technique for me, and Blue, because it is well, blue.  Yes, I just did that!  See how easy it could be for you to do this challenge?
 
MATERIALS:
Dreamweaver Stencil LG 755 Sailboat
Mercart Color Coated Aluminum in AC12 Teal
Stamping Details Rubber Embossing Mat
Color Solutions in Lemoncello, Blue Velvet, Sugar Plum, Darkest Brown, Black Beauty and Paprika Red
Mercart Beginner Metal Working Kit
Mercart Metal Filling Paste
Scissors
Manual Die Cutting Machine (I used a Cuttlebug)
Cotton Swabs
Cotton Balls
A Small Piece of Suede
Sanding Block
Adhesive
Card Stock

DIRECTIONS:
1)  Measure the metal against the stencil and cut the metal with scissors about a half an inch larger all the way around.

 
2)  Decide about where you might want the sun and drip a couple of drops of Color Solutions in Lemoncello in that area.

 
3)  Using a cotton swab, smear the Color Solutions in a circular shape.  It will both lift the teal background color and lay down a nice sunny yellow.

 
4)  Put a few drops of the Color Solution thinner on a cotton swab.

 
5)  Using small circular motions, remove some blue to create clouds.  Be sure to overlap the sun in at least one spot.


6)  Drop Color Solutions in Blue Velvet and a little Sugar Plum on a cotton ball.

 
7)  Tap the color over the metal across the water area of the image.

 
When it is done, the metal should look something like this.

8)  Run the metal through the die cut machine with the rubber mat.  For the Cuttlebug, the sandwich is A Plate, stencil face down, metal face down (be sure to get the colors in the right spots), rubber embossing mat and two B Plates.
 
 
9)  Flip it upside down on the suede and "push out" the areas you want raised with the ball tool (which comes in the beginner kit).

 
10)  When everything seems sufficiently "poufed", flip the project right side up and place it on a smooth hard surface (I used the Cuttlebug A Plate).  Use the Teflon Deer Foot Tool to sharpen the areas around the raised metal. 
The flat side is used in the large, flat area.

 
The pointed side gets into the details.

 
11)  When the project is to your liking, fill the raised areas with Filling Paste and it let dry completely.  This should take at least a couple of hours.

 
12)  After the paste is dry, use the sanding block to remove the color from any raised areas.

 
13)  Use Color Solutions on cotton swabs to paint in areas of color.  I painted the birds, the red stripe on the sail, the boat and the rigging.

 
14)  Assemble the card.

The addition of color before manipulating the metal is the "new" part of the technique for me.  It was pretty fun!  I hope you see that you can interpret the theme in all different ways.  Give it a try!
 
Here's what our "A" team has been working on this week:


Here is where you can link up your creation (or you can go to the Dream It Up blog): 

;

Thursday, May 29, 2014

Fifth Thursday

On months with fifth Thursdays, the entire Dream Team is going to post, and this is our first fifth Thursday of the term.  In keeping with this month's Flora and Fauna team, I am posting an easy floral thank you card.
Here is how it was made.....

MATERIALS:
Dreamweaver Stencil LX 7024 Zen Flower
Dreamweaver Stencil LS 1009 Thank You
Stamping Details Rubber Embossing Mat
Mercart Aluminum in Yellow
Mercart Basic Metal Tool Kit (or just Teflon Deer Foot Tool)
Color Solutions in Paprika Red
Color Solutions in Cosmo Pink
Large Stencil Brush
Fiberglass Erasing Brush (optional)
Scissors
Cotton Swabs
Paper Towels
Sanding Block
Card Stock
Adhesive
Manual Die Cut Machine (I used a Cuttlebug)

DIRECTIONS:

1)  Cut the aluminum to the size of the stencil with scissors.  Cut for each stencil.


2)  Place the stencil face up on the base of your die cut machine and cover with aluminum, yellow side up.

 
 3)  Cover with the rubber embossing mat and your top mats.  For the Cuttlebug, it goes A Plate, stencil, metal, rubber mat, and two B Plates.

 
4)  Run through the machine.

5)  Leaving the stencil in place under the metal, use the Mercart Teflon Tool (in basic kit) to "sharpen" the edges of the stencil wells and "draw" lines in the petals.

 
 6)  Drop a drop of Paprika Red Color Solutions in each well, leaving the innermost ones empty.

 
 7)  Use a cotton swab to move the color around the well.


 8)  Blot off any excess color with the paper towel.


 9)  Repeat steps 6-8 using Cosmo Pink in the inside petals, leaving the very innermost circles yellow.  You can put a little pink in some of the red areas.


10)  Lightly sand over the top of the project.  You will be removing color from the outlines of the petals, the uppermost parts of the lines inside them, and the background.

 
 11)  You can use the fiberglass brush to clean out any additional areas that you would like to leave silver (OPTIONAL).

 
 12)  Use the brush to remove all the powder remaining from the sanding.

 
13)  Repeat steps 1-5 with the Thank You stencil, then sand well.

14)  Carefully remove the metal from the stencils and assemble the card.

 
I hope you enjoyed my Fifth Thursday post.  Check out the other posts this week and get inspired.  If you link up your Flora and Fauna creation to the Dream It Up! blog, you could win a prize.

Thursday, May 22, 2014

All New Designs!


The Dream Team is ready to inspire you with some extra fun this week! Not only are we posting with the Flora and Fauna challenge, we are introducing you to our THREE NEWLY RELEASED DESIGNS...our Owl Buddy, the Open Sheep, and the art nouveau-inspired Heron, which you had a sneak peek at two weeks ago on the Dream It Up! blog. Three lucky commenters on the Dream Team's posts will receive one of these designs to be announced on the Dream It Up! blog next week. Tell us in your comment which technique YOU would use with your favorite of these new designs.

Here is what I created this week...
 
 
You may ask yourself, "What, no metal?".  Yep....I wanted to do something different this time.

MATERIALS:
Dreamweaver Stencil  LX7002 Plaid
Dreamweaver Stencil  LL3040 Open Sheep
Dreamweaver Stencil  LS22 Congratulations
Dreamweaver Paste Spreader LM2010
Palette Knife
Removable Tape
Dreamweaver Regular Embossing Paste
Splendor Ink Pad in Circus
Stencil Brush
Color Solutions in Black Beauty
Craft Mat
Hero Arts Gemstones
Cotton Swab
Black or Gray Acrylic Paint
Cotton Balls
Paper Towel
Card Stock
3D Dots
Adhesive

INSTRUCTIONS:

1)  Tape the stencil over the top of the light card stock.
2)  Tap the stencil brush into the color you want from the Splendor pad to pick up some ink.

 
3)  Tap the brush on the paper towel to remove excess ink.

 
4)  Rub the color on over the card stock in a light, circular motion.

 
I left the color a little "splotchy" because my intent was to have a soft background for my soft little lamb.

 
5)  Pull a little cotton off the end of the cotton swab and place a couple of drops of Color Solution on it.

 
6)  Tap the color solutions on one end of a gemstone to add an "eyeball".  This will take about three coats to become opaque.  Let the color dry for just a moment between coats.

 
7)  Place just a little black or gray acrylic paint on your craft mat.

 
8)  Place a "blob" of embossing paste over the top of the color and mix well with the palette knife.  Adjust the color with paint or paste until you get it "just right".


9)  Place the lamb stencil over the top of the striped card stock and tape down well with removable tape.  Make sure that nothing that you want to leave striped is exposed.

10)  Use the LM 2010 to pull the paste across the stencil.

 
11)  Carefully remove the stencil, using one taped edge as a "hinge" while you lift it.

 
12)  While the paste is still wet, pull apart the cotton balls and gently press the pieces into place.
 
13)  Also, while the paste is still wet, place the gemstone "eyeballs" into place.  Let the paste dry.


 This is what the lamb looks like finished. 
 
 
14)  Paste the Congratulations stencil with embossing paste on a darker cardstock and let dry.

 
15)  Assemble the card, using the 3D dots to raise up the word. 
 
Here is another quick look.
 
 
Thanks for checking out my post.  Don't forget to comment for your chance to win some stencils!


Ready for more ideas? Check out our this week's team players: