Showing posts with label Imagine Crafts. Show all posts

Thursday, January 7, 2016

Amplify Your Work With Imagine Crafts! A Dimensional Dreamweaver Butterfly Card

STM_IC_blog banner
Welcome to a really fun, and full week at Stampendous!  This week, we are featuring an Imagine Crafts blog hop AND our new CHA catalog images.  

OF COURSE, we have prizes......

Three lucky commenters will receive a prize package that includes:
  • 1 Radiant Neon Ink Pad and Ink Refill
  • 1 Color Fragments Jar
  • a Creative Palette Rectangles Set
See Official Contest Rules for details.


The image I chose is not from the new catalog, but I will feature one from that tomorrow.....

Materials:
Emerald Pearl Embossing Powder
Detail Black Embossing Powder
Tiger Lily Pearl Glitter
Versamarker
Cardstock by Bazzill Basics Paper®
Core'dinations Card Stock
Medium Glue Dots
Amplify in Purple and Black
White Glue
Scotch by 3M 1/2" Adhesive
May Arts Ric Rack
Removable Tape
Buttons by Buttons Galore
Embossing Heat Gun
Paper Trimmer

Instructions:

  1. Cut the base card stock 8 1/2" by 5 1/2" and fold on the side.
  2. Tape the Three Butterflies Stencil over brown card stock with removable tape.  Use a tape strip all the way across the top of the stencil that will act as a hinge later.  Then tape both of the sides and bottom.
  3. Use the palette knife to remove the Regular Embossing Paste from the container and place on the paste spreader.  Place a strip of paste on the spreader that is as wide as the butterflies image.
  4. Set the paste spreader on the stop of the stencil and pull it towards you, maintaining contact with the stencil, and filling in all the wells.
  5. Carefully remove the tape from the bottom and sides of the stencil.
  6. Using the top tape as a hinge, lift the bottom of the butterflies stencil carefully up and then away from the project.  Let dry completely.
  7. Use the Versamarker on the leaves and pour on the Emerald Embossing Powder, heating it to create a smooth shiny look.
  8. Use the Versamarker on the edges of the butterflies and apply Detail Black Embossing Powder.  Heat it with your embossing gun.
  9. Use the white glue on the butterflies to apply the Tiger Lily Glitter.
  10. Squeeze the black Amplify onto the center of the butterflies to create the bodies, and the purple Amplify on the flowers.
  11. Heat the Amplify with the embossing heat gun until it puffs up.
  12. Assemble the card, including the ric rack.
  13. Attach the buttons onto the card with the Glue Dots.
We have a lot going on this week.  I have included all of the other posts in my list for today.  Some are Dreamweaver, some feature Imagine Crafts and others are new products (which I will feature tomorrow.  Check them out, and don't forget to comment for your chance to win those prizes!


Friday, June 13, 2014

Endless Possibilities Blog Hop Day 5


 Welcome to our first ever collaboration week with Imagine Crafts/Tsukineko! We've shared all of our toys on both sides, so be prepared for Endless Possibilities! Three prize packages are available, each containing one set of each of these inks and stencils/dies. Just leave comments on each post of each day this week (June 9th - June 13th) for a chance to win! Winners will be announced on Tuesday, June 17th!
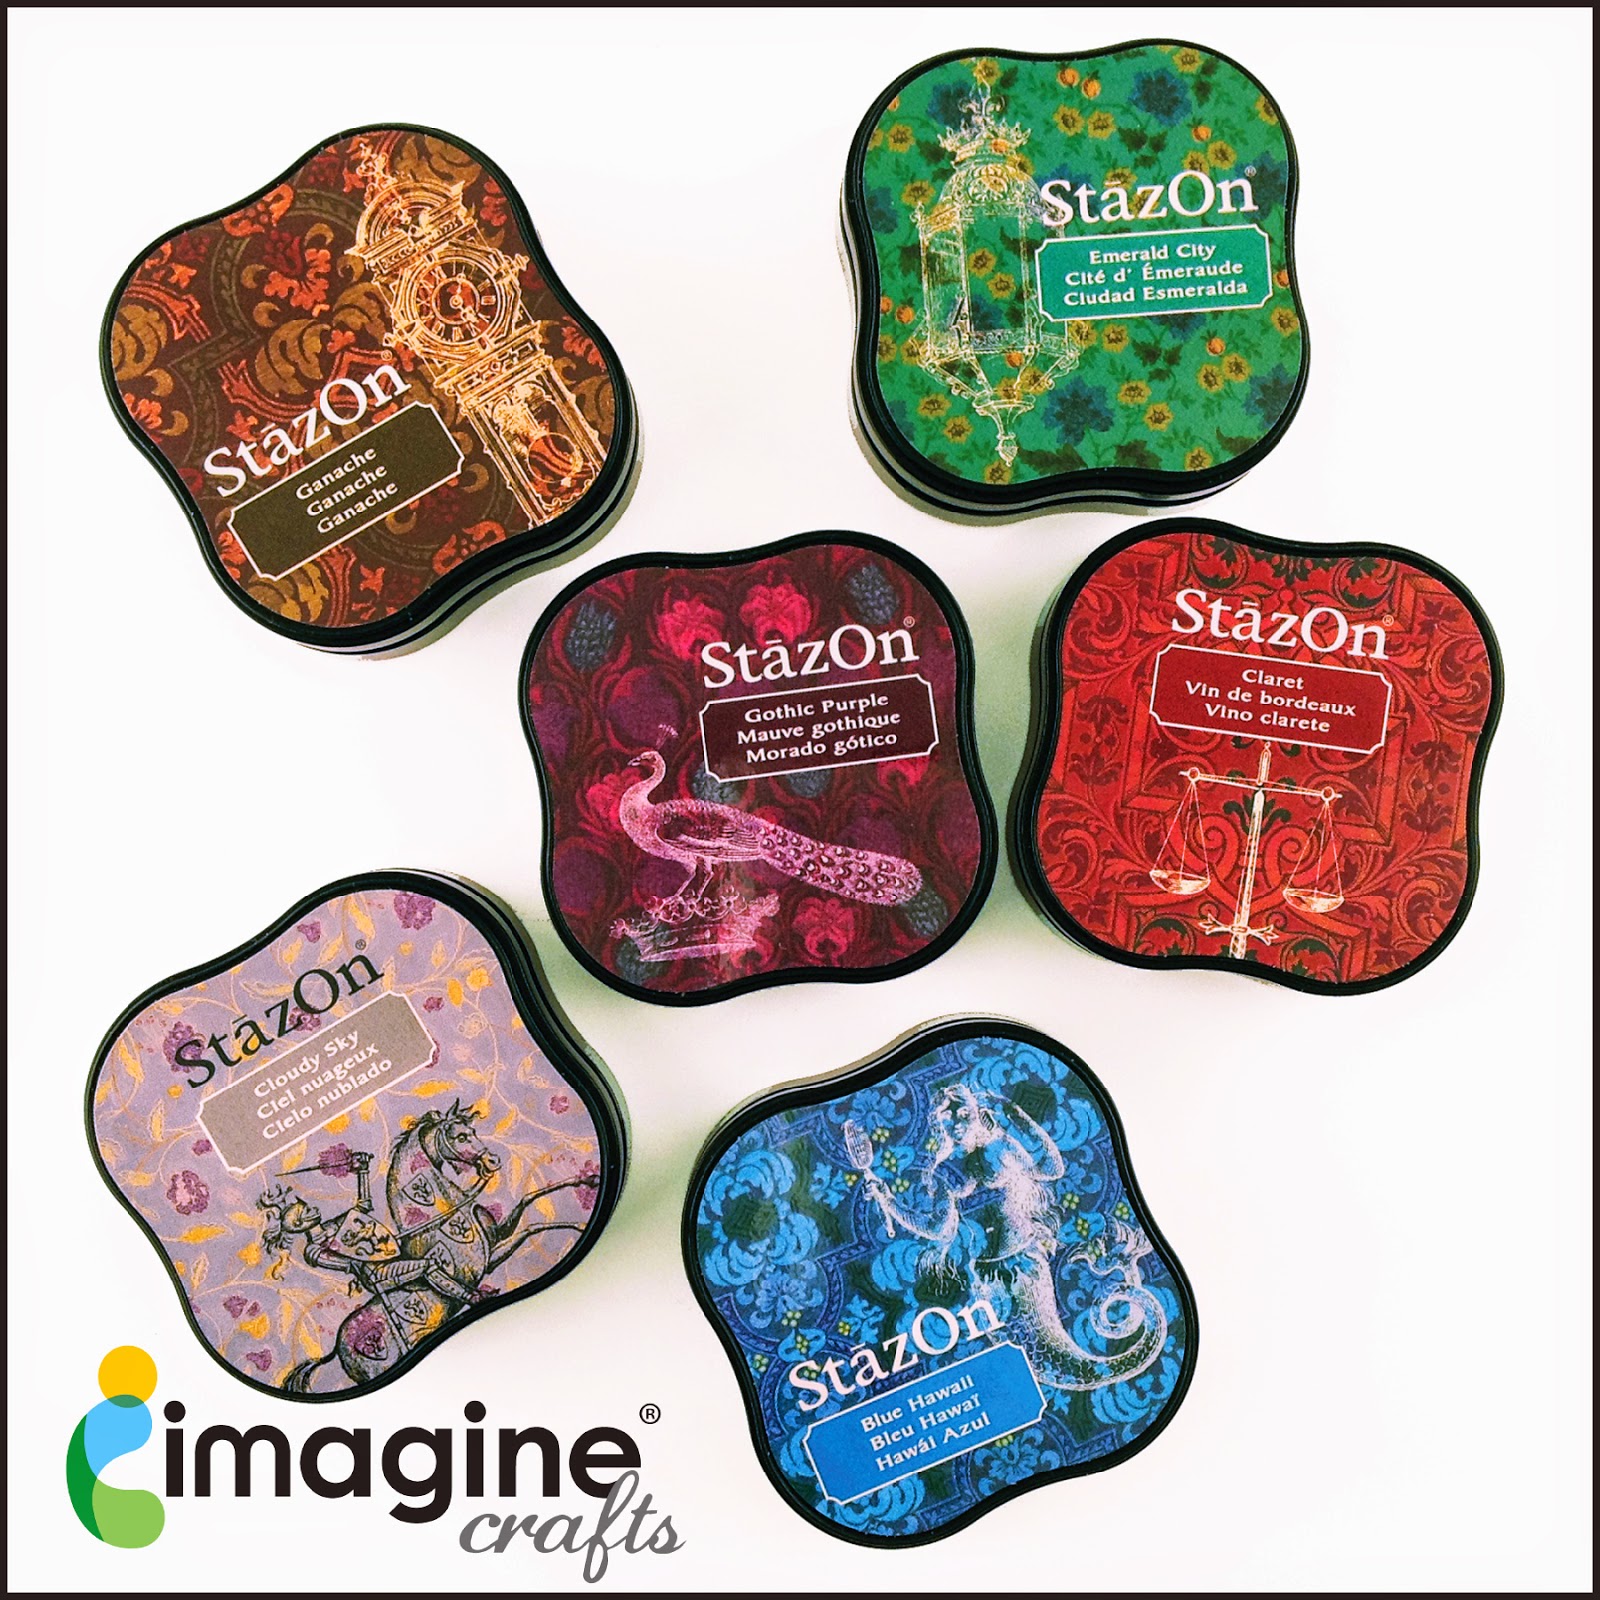
Imagine Crafts New StazOn Pads from Tsukineko
Stencils and Dies Prize Package
Here's my creation for today:
 
     Here is my true confession:  although I create cards all the time for my blog, I don't often use them.  This one, however, was specifically created for my darling niece, who is graduating from high school this year.  She is a beautiful and classy young woman.  I wanted to reflect that in her card.  In case you hadn't guessed, her high school colors are red and white.
     For this card, I used the Dreamweaver Stencils Damask LX 7001, Graduation LL 449 and Congratulations LS 22.  The Graduation and Congratulations Stencils were run through my Cuttlebug with the Stamping Details Rubber Mat.  I used black card stock for both.  I also ran the Graduation Stencil through twice more, once with a glittering ivory, and a second time with a textured white.  I hand embossed the tassel a little more with the small embossing tool
     Then, I enhanced the embossing with some gorgeous inks.  The Silvery Shimmer Delicata was added to the hat with a stencil brush.  I used the finger daubers with the Golden Glitz Delicata on the tassel and the word.  I masked the area next to the string with a little paper.  The background and diploma were colored with a stencil brush and Versafine in Crimson Red and the Golden Delicata.  I was so impressed with the shimmer from the Delicata.  I am just not used to ink being so shimmery.  Here is a slightly askew picture so you can see what I mean.

 
The beautiful red velvet ribbon is by May Arts and adhered with my Xyron X.

Just Imagine the possibilities of what everyone else has created!
 

Thursday, June 12, 2014

Endless Possibilities Blog Hop Day 4

 Welcome to our first ever collaboration week with Imagine Crafts/Tsukineko! We've shared all of our toys on both sides, so be prepared for Endless Possibilities! Three prize packages are available, each containing one set of each of these inks and stencils/dies. Just leave comments on each post of each day this week (June 9th - June 13th) for a chance to win! Winners will be announced on Tuesday, June 17th!
Imagine Crafts New StazOn Pads from Tsukineko
Stencils and Dies Prize Package
Here's my creation for today:

 
   It is about as close to Clean and Simple as I am going to get.  The colors were chosen because of the ribbon, and are actually a much closer match than they appear to be in this picture.  I used the Dreamweaver DG 743 Stylized Dahlia die on a piece of Vertigo from Imagine Crafts.  This was the hardest thing to do on this project.  The dies aren't really designed to cut through thick plastic, but it made a nice score line.  I had to use a craft knife to assist in removing the Vertigo.  I decided to leave those inside petal shapes attached on top and just bend them outward.  I did this to add different colors and textures.
    I ran the LG 743 Stylized Dahlia Stencil through my die cut machine with the Stamping Details Rubber Embossing Mat and white card stock.  I colored the image with sponge daubers and Radiant Neon Ink in Electric Yellow, Electric Green and Electric Purple.  I also ran a little Electric Purple around the edges, both on the cardstock and the Vertigo.  I put adhesive under the area that I was going to put the ribbon.  Lastly, I added the gorgeous May Arts Solid Reversible Dots (ED-1) Ribbon that started it all.
Just Imagine the possibilities of what everyone else has created!
 
Dream It Up!