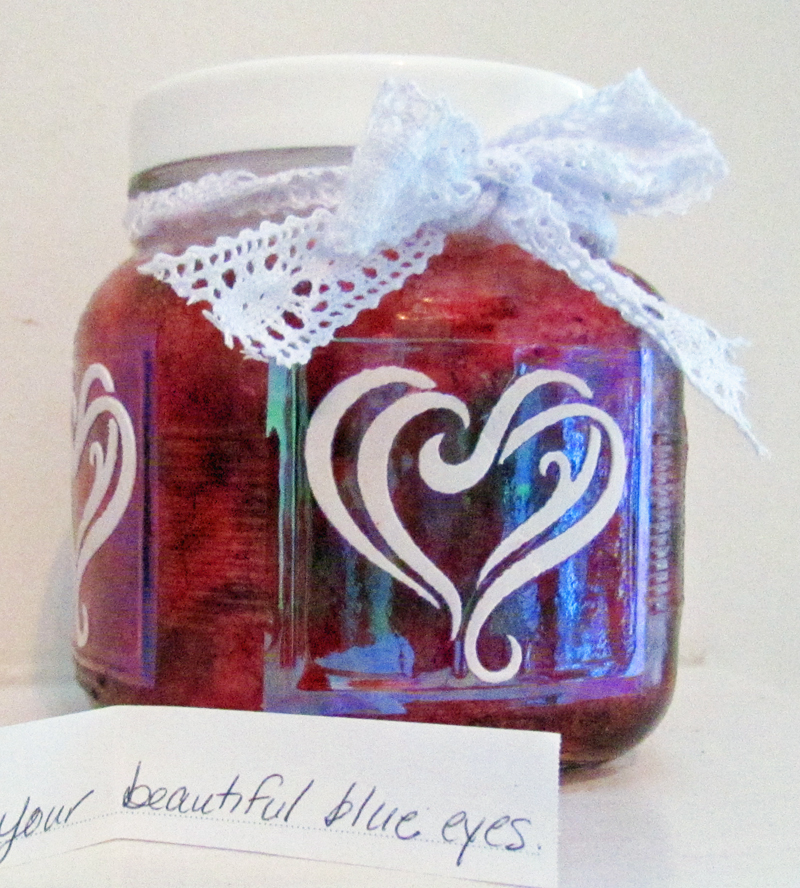
Dreamweaver Stencil LM 287 Heart Flourish
Dreamweaver Regular Embossing Paste
Dreamweaver Alcohol Ink in Cosmo Pink
Dreamweaver Alcohol Ink in Sugar Plum
Dreamweaver Alcohol Ink in Paprika Red
Dreamweaver Alcohol Ink in Sizzling Silver
Alcohol Ink Aplicator
Removable Tape
Palette Knife
Art Glitter Fantasy Film in Strawberry
Xyron 510 With Permanent Adhesive
Jar (I bought mine at the Dollar Store)
Ribbon
Scissors
Pencil
Pen
Paper

DIRECTIONS:
1) Use alcohol ink applicator to apply alcohol inks all around the outside of the jar. I used three drops of each of the colors and one drop of silver for each time I loaded the color on the applicator.
2) Trim Fantasy Film to a little larger than the stencil. Make four pieces.
3) Send the Fantasy Film through the Xyron machine. Rub the resulting adhesive "sandwich" and remove only the top layer of cellophane.
4) Use embossing paste and stencil to add hearts to all four pieces. Do this by taping stencil down onto film and using the palette knife to "squeegee" on the paste. Let dry.
5) Replace stencil and trace around it with the pencil.
6) Trim just inside the tracing with scissors.
7) Remove backing and adhere hearts to jar.

8) Tie ribbon around the jar.
9) Use pen and paper to write 365 (or whatever amount suits you) notes to your loved one.

There you have it, a Love Jar! I hope you get the chance to make this very personal project for your loved ones.
Meanwhile, February is full of opportunities for you. Challenge yourself to participate this month with a CAS project of your own! Send a picture to Lynell@Dreamweaverstencils.com for your chance to win. Better yet, apply for the Dreamweaver Design Team today! That is right, there is a call out for a new team. Take it from me, it is a fabulous opportunity.


 I chose to feature the cards that I am teaching in a January 14th class at My Craft Room in Troy, Michigan. While my focus is on the metals, I have a couple of extra techniques thrown in. Lets start on the left, shall we? For this card, I used two stencils. One, the candy hearts, can only be obtained by taking the class. I ran that stencil through my Cuttlebug with plain metal, dripped alcohol inks on it, and sanded it. The other was the


 Posts
Posts


